Tuesday, 3 January 2017

Trendy succulents.

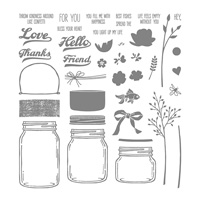
The second stamp set that I received to create my display pieces for Telford was called "Oh so succulent". If you look around you will see succulents all over the place. They are very on trend. I saw some fabulous glittered ones in the run up to Christmas. 
I searched pinterest for succulents to get ideas for colour palettes to use and so in this 3D project I used shades of green and pink and yellow.
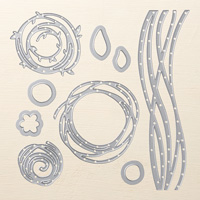
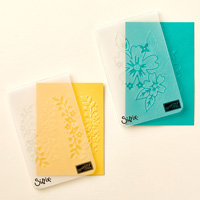
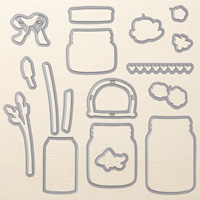
I now know that there is a set of dies to coordinate with this set, but mine were all cut by hand.

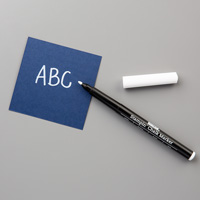
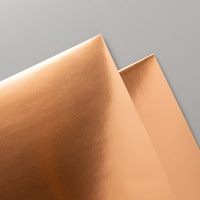
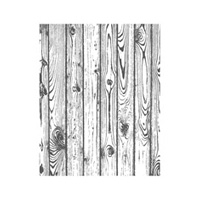
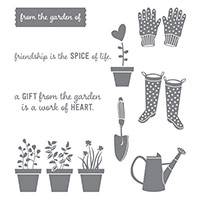
The box was created by stamping the hardwood background stamp onto crumb cake card. The metallic bands and screws were created from copper foil. The sentiment was embossed with copper embossing powder. The little hand trowel comes from the "gift from the garden" stamp set.


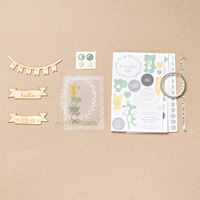
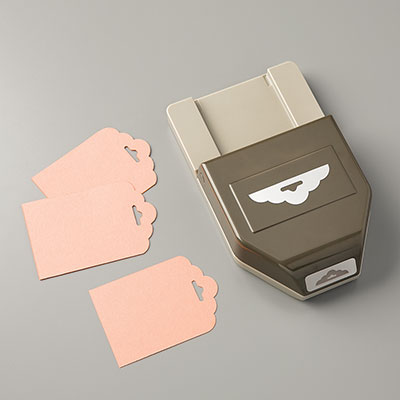
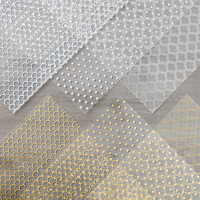
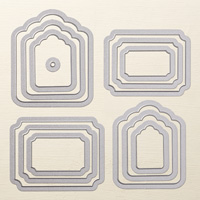
This little gift bag was made from the gold foil acetate and then one of the succulents was stamped and embossed in gold on a strip of wild wasabi card and a wild wasabi tag that was die cut using the "tags and labels" framelits


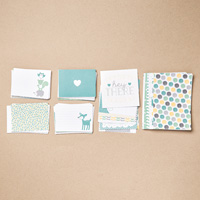
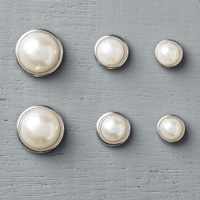
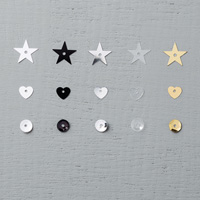
A variety of succulents were stamped on the centre panel of this card in tip top taupe and cucumber crush. The side panels were attached with dimensionals to give them some height, Some pearls were added to the centre panel and some linen thread swirled behind the sentiment banner.


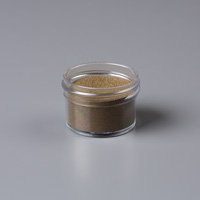
I used sweet sugarplum for the succulents I stamped in this jar with a "Happy Mothers Day" greeting that comes in this set. The jars from the annual catalogue are so versatile and you can fill them with all sorts of things. A few sequins were scattered over the background of the card and some of the sweet sugarplum ribbon from the succulent ribbon duo set wrapped around it. Some dsp and old olive card were added to make up the mats. 


My final project using this set was a 8"x 6" project life page featuring pictures of Mike and I on our wedding day ( we celebrated our 30th Anniversary last May) and on our daughter's wedding day in 2014. I used the lovely sentiment from the succulent set- "The best love story is the one you make together". I also used some of the stamps to decorate the background of the pocket I created. The wooden embellishments are featured in the new Spring/Summer catalogue and they are gorgeous.

I think this stamp set is going to be very popular,particularly when it is teamed up with the dies and I look forward to creating lots of other projects with it.

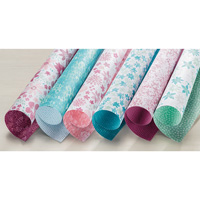
Here are a few of the products I used from the annual catalogue:

Table built using Product Table Builder by The Crafty Owl - Independent Stampin' Up! Demonstrator.

Tomorrow sees the lauch of the Spring/Summer Catalogue and the start of Sale-a-bration, One of the most exciting times in the Stampin' Up Year. If you live locally to me, you are invited to join me formy New Year sale-a-bration party tomorrow.
 If not watch the blog and facebook for more projects, products and promotions.

Look forward to sharing the excitement with you

Helen
xx

Monday, 2 January 2017

Welcome back

Today I would like to share some projects I made with the welcome greeting from the "Vertical Garden" stamp set

In 2016 we were blessed with our first Grandchild, my beautiful Granddaughter Thea. We are now eagerly awaiting the arrival of our Grandson in 2017. It was therefore very apt that I should create a welcome to the world card. I used the welcome greeting stamp and the stamp that creates the shadow effect. I used the"Brushwork Alphabet" set to form the "to the world".The ducks came from the "Something for Baby" set, as did the small stamped hearts. The "wave"s were created using a piece of fabulous foil acetate.


Another good occasion to welcome someone, is when they join your team of Stampin' Up demonstrators. This time I stamped the greeting onto whisper white and cut it into squares. I used stayzon ink to stamp the flourishes from the set onto some ribbon. The "to my team" sentiment was created using the "labeler alphabet". As we head into the sale-a-bration promotions, there has been no better time to join my team. If it is something that interests you, do get in touch.


If you have someone new in he office, or in your street, how about a little welcome gift in a bag. The bag was created with the gift bag punch board and paper from the "blooms and bliss" pack. I again used the shadow with the welcome greeting as well as the twirly flourish from the set to create the tag. The succulents ribbon pack contains both white and this sugarplum ribbon. It feels lovely. The embellishment as made with some die cut swirls from the swirly scribbles thinlets set; flourishes stamped on a card circle and some tiny flowers/and pearls.


The last project I created was a 12" x 12"project life page using pictures of baby Thea. Again, hello and welcome are so apt when creating a page celebrating the arrival of a baby into a family. I teamed them up with elements from the "Hello baby girl" project life collection.


Here are some items I used from the annual catalogue. The new items will be available to view and purchase from 4th January.

Table built using Product Table Builder by The Crafty Owl - Independent Stampin' Up! Demonstrator.

More sneaky peeks tomorrow, when we look at some on trend succulents.

Helen
xx

Sunday, 1 January 2017

Hello New Year

Happy New Year to you all.

Back in November I was delighted to be chosen to create some display projects for the UK "On Stage" event in Telford. I was sent some products that would be launched in the Spring/Summer catalogue and got to play with them. As we draw close to the launch of the brochure I thought I would share those projects with you over the next couple of days.
One of the stamp sets I was given is called "Vertical Garden" and contains the sentiments "Hello" and "Welcome". co-ordinating stamps that provide a shadow effect to these sentiments and some flourishes. The set co-ordinates with a project kit in the catalogue. Hello and welcome seems a good place to start for  New Years posts.

Let's start with "Hello"


This first card uses just the base hello stamp and the Bermuda Bay Ombre stampin' pad. stamped onto whisper white card that was formed into a tag with the tag punch. I inked the edge of the tagand added some "splats" from the swirly bird stamp set. The background is formed by putting a piece of the fabulous foil acetate onto a white card blank. This acetate is gold foil on one side, but if you turn it over it looks silver and it was the silver that I chose to use for this card. The next mat was created by inking a piece of the irresistibly floral speciality designer series paper. These papers are a white embossed paper that are beautiful as they are, but are just asking to have ink rolled, sponged or spritzed on top. I used a sponge brayer and the ombre ink to colour the card.  I die cut a couple of swirls in bermuda bay card from the swirly scribbles set. The finishing touch was some bermuda bay stitched ribbon.


The photograph isn't fantastic on this card, but I again used the base hello stamp and copper embossing powder. The flourishes are also part of the stamp set. Some are stamped directly onto the card and embossed and the pieces over the top of the card were fussy cut and stuck on, along with a heart punched from copper foil and some copper metallic thread. The copper foil was also used as mats to make the layers pop.


For this third crumb cake notecard I used both the base hello stamp and the shadow. The shadow was stamped in versamark and white embossing powder sprinkled on top and heated. The base hello stamp was stamped in mint macaron. The colours of card I used for this project were mint macaron and island indigo. The paper is from the "blooms and bliss" collection. I used some of the new white ribbon from the succulent garden ribbon combo. It has a soft brushed texture.. I also added a strip of burlap ribbon which is frayed at the ends. The embellishment is created with linen thread and a metal rimmed pearl.


The fourth hello card again uses the shadow, this time stamped in craft stampin' ink. The watermelon wonder card was embossed using the floral affection embossing folder. The corners were rounded with the project life corner and the edges of the card was highlighted with the white stampin' chalk marker. The paper is from the affectionately yours speciality designer series paper,which is mounted onto crumb cake card. The ribbon is the watermelon wonder mini striped ribbon


You are going to have to wait until the 4th January to see the stamp set, but here are some of the other products I used.

Table built using Product Table Builder by The Crafty Owl - Independent Stampin' Up! Demonstrator.

Tomorrow I will welcome you back with some more projects from Telford.

Helen
xx