
Well three days on and I am still far from feeling tickety boo. However, armed with a box of tissues and sitting huddled under a blanket, I will share a couple more of our card fronts that were created using the stencils from the "Dots and Stripes"set.
.jpg)
This first card used both stencils. I masked off the part of the card I wasn't working on and lay the striped mask from corner to corner. I used the rich razzleberry ink pad directly to ink through the stencil, which is why the colours on this are deeper. I then masked off the other side of the card and lay the dot mask on and inked directly using the melon mambo inkpad. To make the toppers, I used the "Amazing Birthday" stamp set to stamp the birthday cake which I layered onto a circle punched from rich razzleberry card stock. I added white dots using the chalk marker. Using the same stamp set I stamped the Happy Birthday greeting and then layered it onto a tag punched from melon mambo card stock. The whole card front was then mounted onto melon mambo card stock.
.jpg)
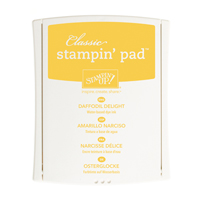
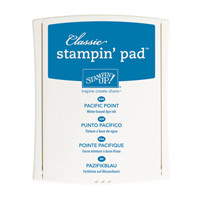
This second example, used the stripe stencil. I lay it one way across my white card and sponged through with daffodil yellow ink. I then wiped the stencil before turning it around by 90% and sponged through with pacific point ink. I picked up those colours to create the tag, which is the striped banner stamp and the surprise stamp, both from the "Amazing Birthday" collection. I layered them up onto a die cut tag in pacific point card stock. I used dimensionals to attach it to the card front. I then added a piece of knotted yellow ribbon. The whole was then mounted onto a square of pacific point ink.
One of these cards is in quite "girly" colours, whilst the other is quite masculine. It is always fun finding different ways to creating tour own bespoke backgrounds, not just for cards, but for journals and home decor as well.
 |
 |
 |
 |
 |
 |
 |
 |
 |
Table built using Product Table Builder by The Crafty Owl - Independent Stampin'
Up! Demonstrator.
I am going to snuggle back under my blanket and continue to try and get better.
Helen
No comments:
Post a Comment