With this technique you can keep your colours separate to enable you to pick them up separately, or you can allow the colours to blend together to give gradations of colours and mixes of colour.
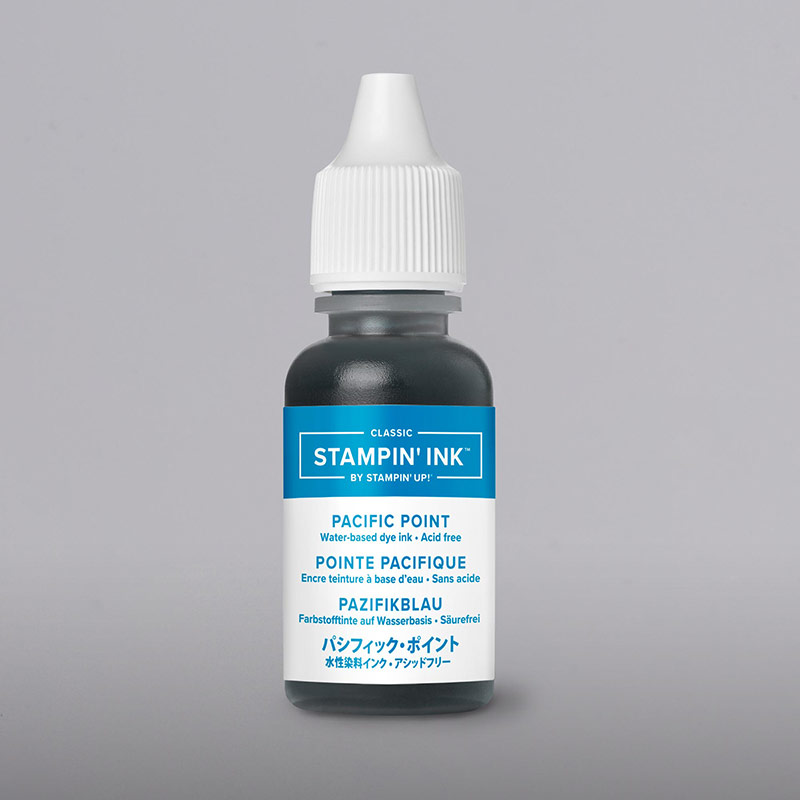
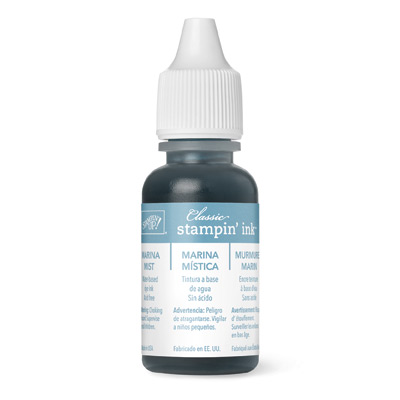
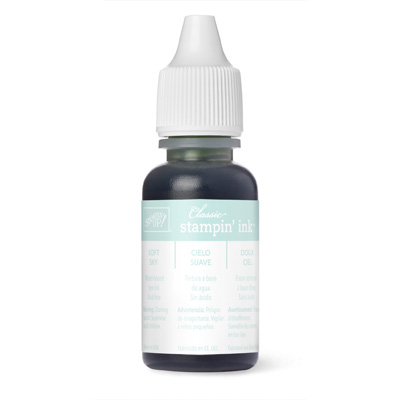
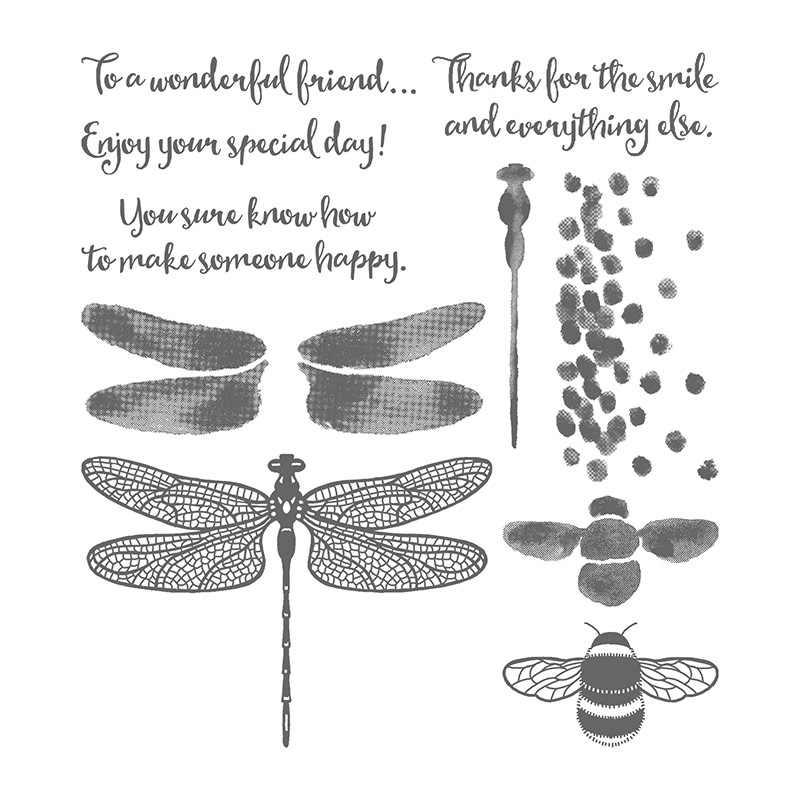
For this first card, I used 3 drops of different shades of blue along the fold in a baby wipe and swiped the colour across the shimmery white cardstock. I then stamped the greeting, dragonfly and spots over the top and added some blue sequins.
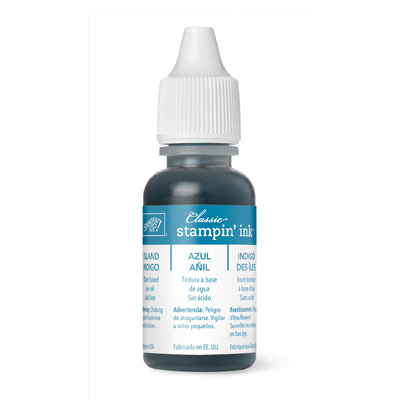
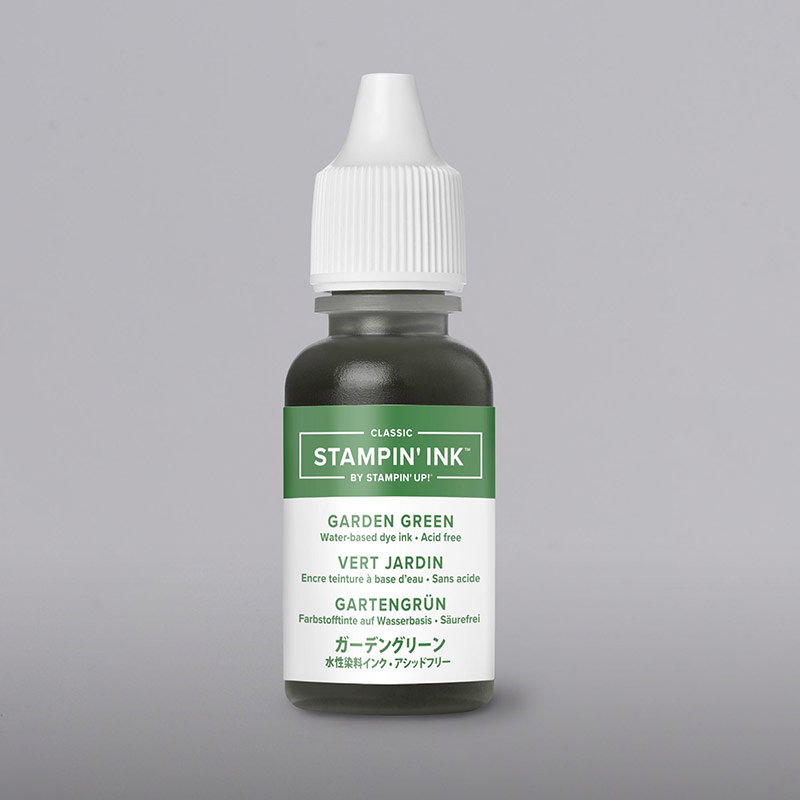
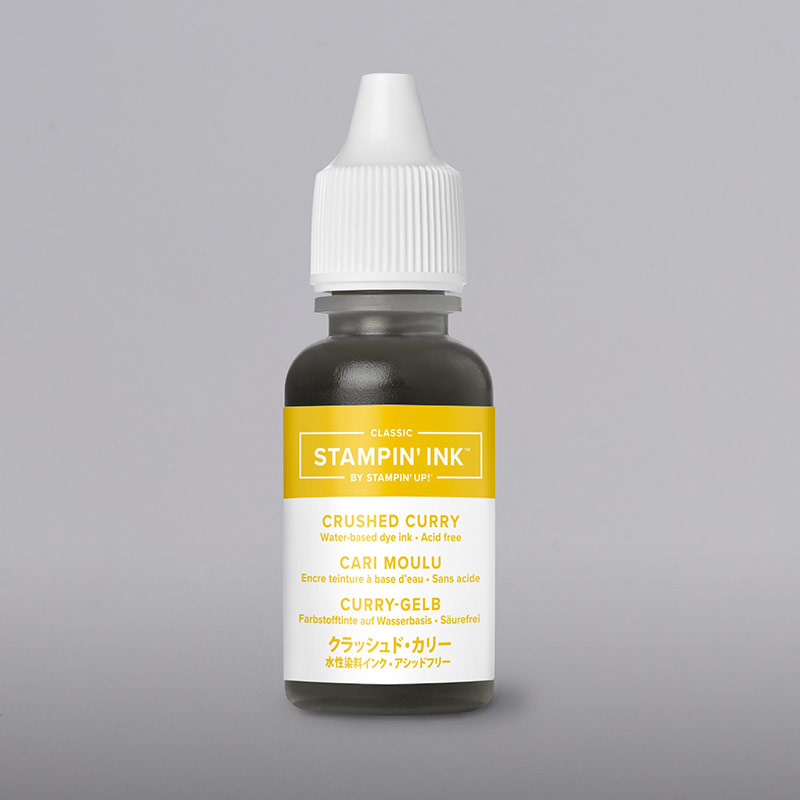
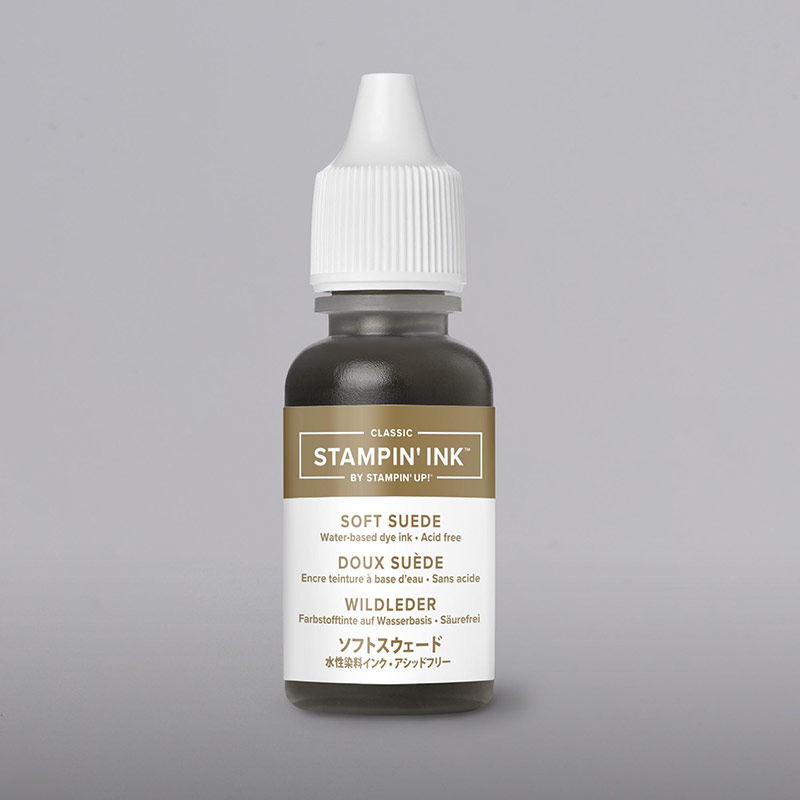
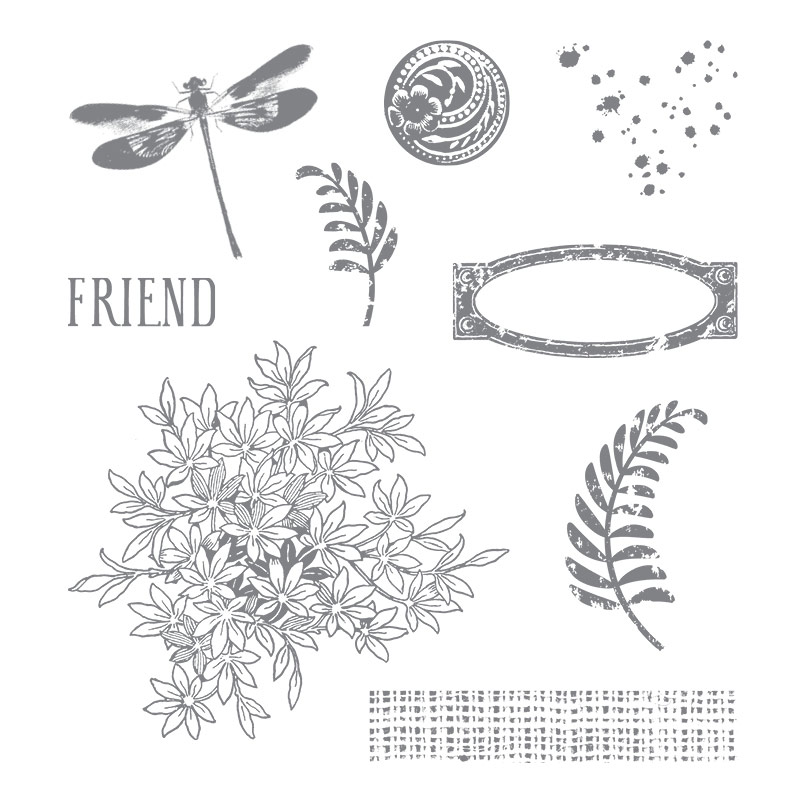
For this card I dropped the garden green, crushed curry, island indigo and perfect plum inks into the separate corners of the baby wipe to keep them apart. I was then able to pick up the individual colours for some stamps, like the ferns and spots, but also to use a combination of colours for the dragonfly.
I used the same baby wipe for this card, but this time, I twisted the baby wipe round on the card stock to achieve the swirl of colour which I have then stamped over and heat embossed with gold. I also used the babywipe to swipe some colour around the edge of the card and as my palette for the small stamps in the background.
For these 2 cards, I dropped my ink centrally in the baby wipe so they blended together giving a multi-tonal effect. These stamp palettes develop as you use them and the colours merge together, giving different results every time.
If you keep your inked baby wipe in a sealed container/bag you can go back and reuse it multiple times.
You are going to end up with inky figures with this technique, but it is great fun and with so many different colours in the Stampin' Up range, the combinations are huge.
Table built using Product Table Builder by The Crafty Owl - Independent Stampin'
Up! Demonstrator.
Helen



No comments:
Post a Comment