Wednesday, 1 February 2017

Babywipes aren't just for babies.

We had a very enjoyable class a couple of weeks ago exploring the baby wipe technique. This is when you add drops of re-inker to a folded baby wipe and  essentially use your baby wipe as your ink pad.
With this technique you can keep your colours separate to enable you to pick them up separately, or you can allow the colours to blend together to give gradations of colours and mixes of colour.


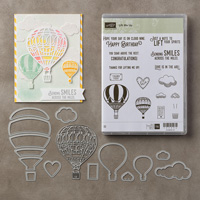
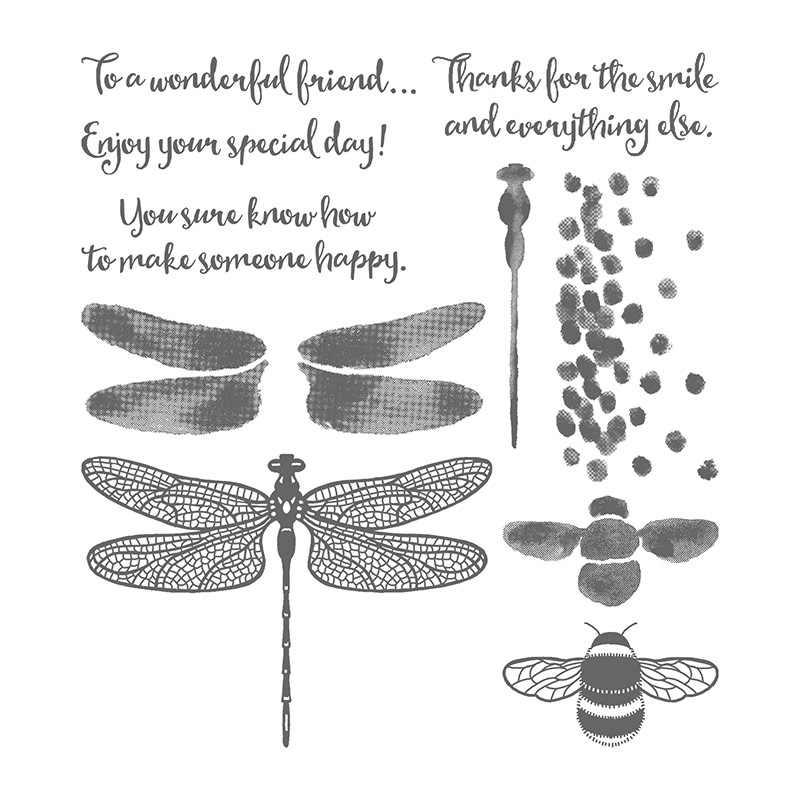
For this first card, I used 3 drops of different shades of blue along the fold in a baby wipe and swiped the colour across the shimmery white cardstock. I then stamped the greeting, dragonfly and spots over the top and added some blue sequins.


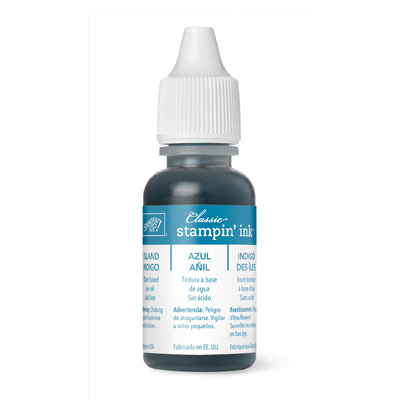
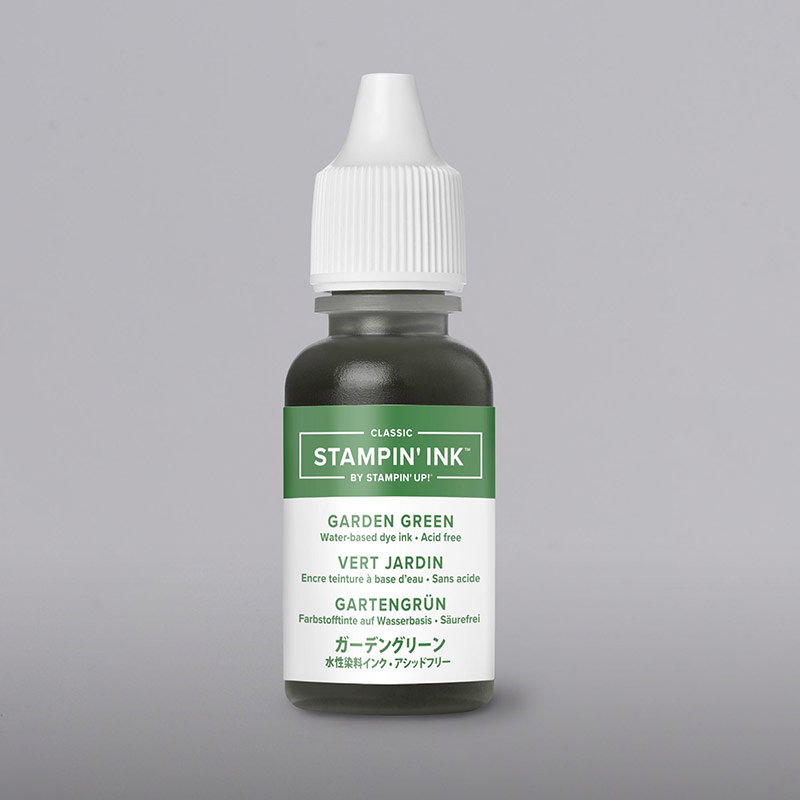
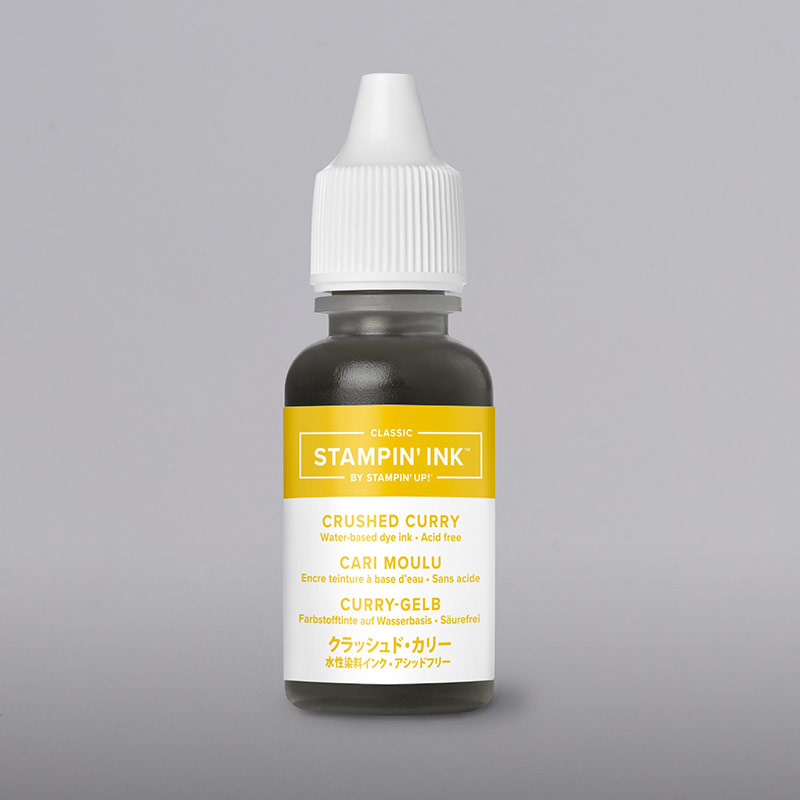
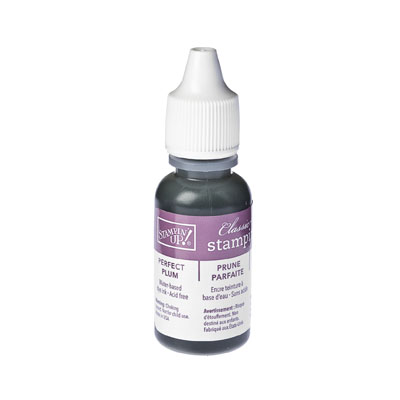
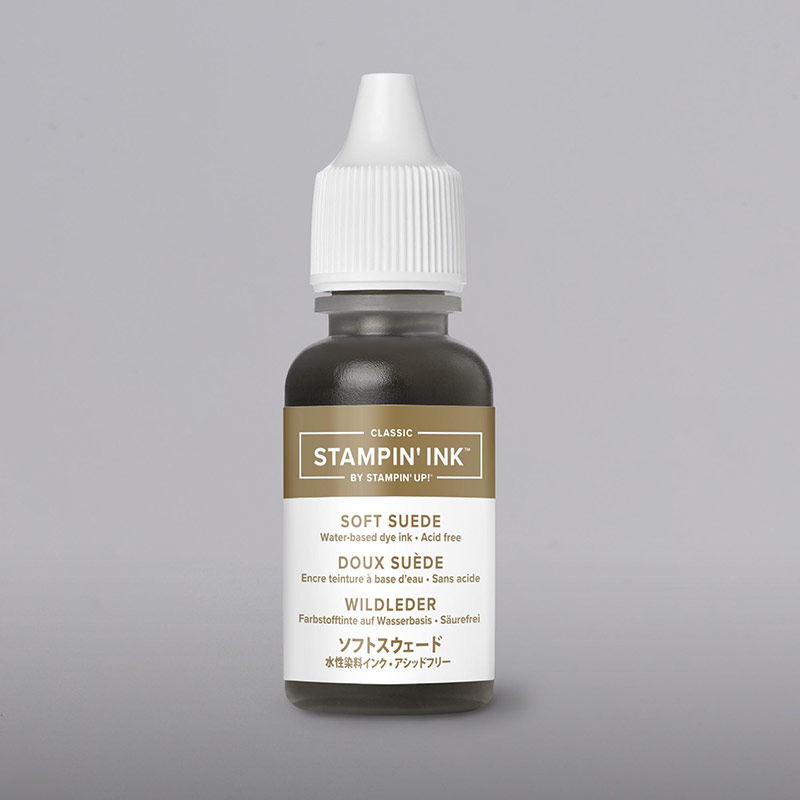
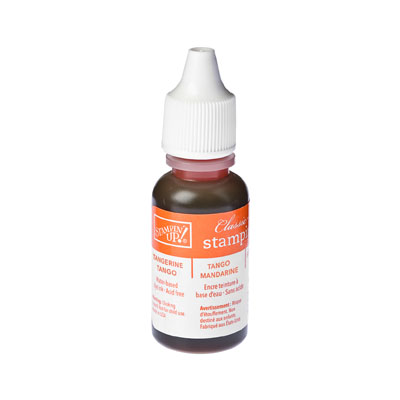
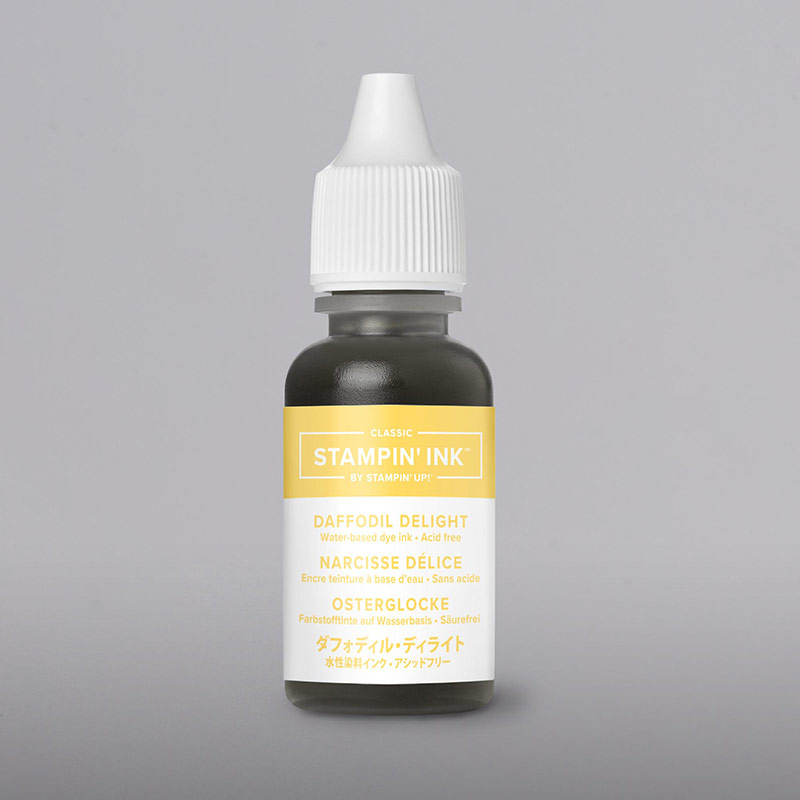
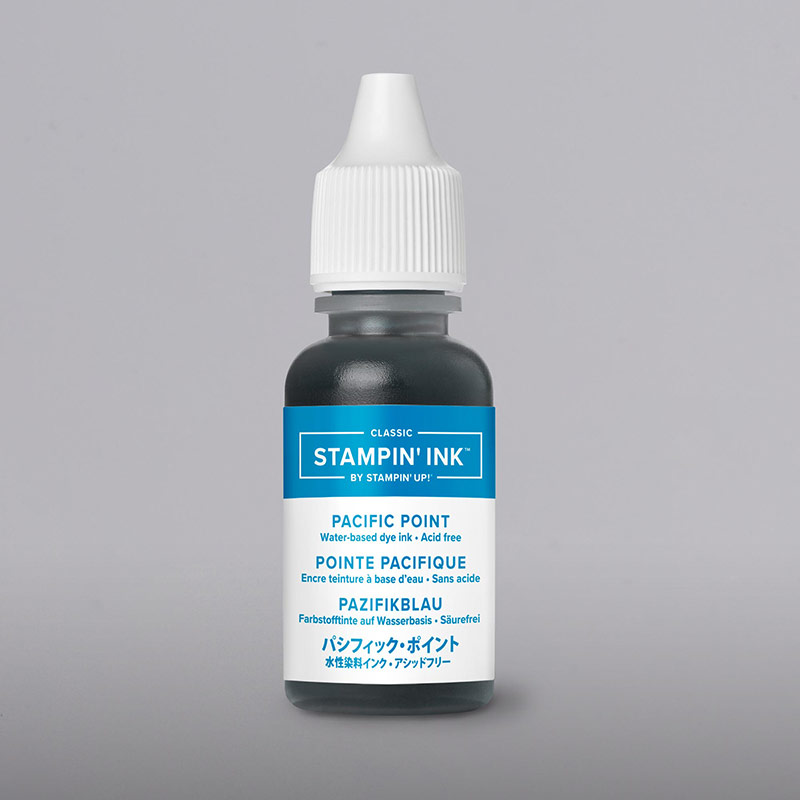
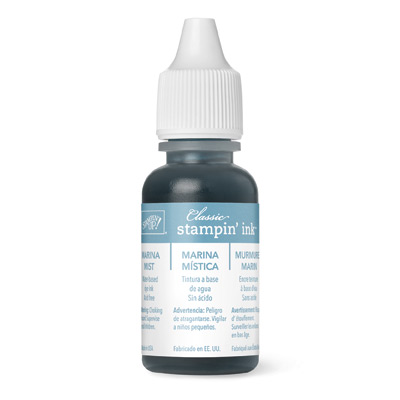
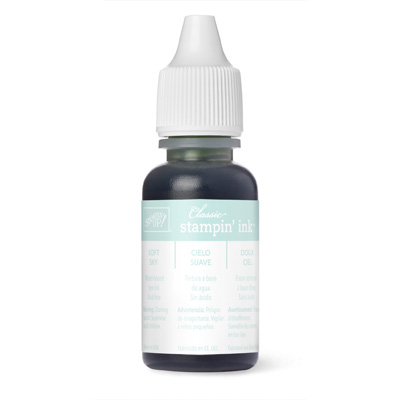
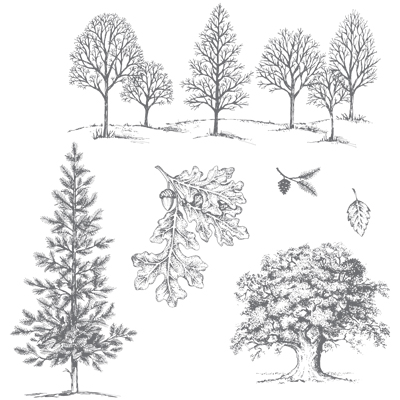
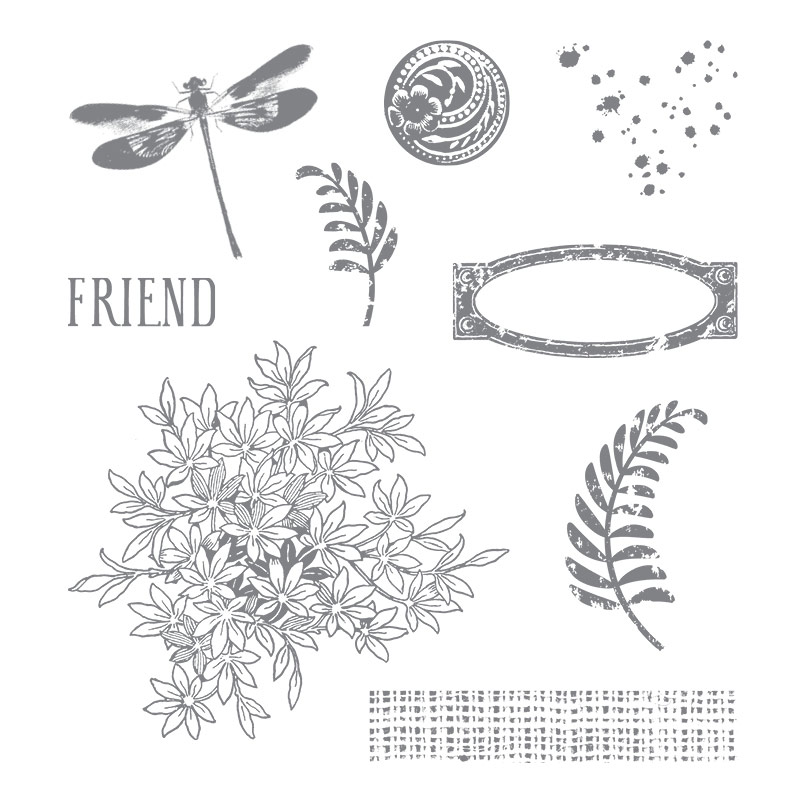
For this card I dropped the garden green, crushed curry, island indigo and perfect plum inks into the separate corners of the baby wipe to keep them apart. I was then able to pick up the individual colours for some stamps, like the ferns and spots, but also to use a combination of colours for the dragonfly.


I used the same baby wipe for this card, but this time, I twisted the baby wipe round on the card stock to achieve the swirl of colour which I have then stamped over and heat embossed with gold. I also used the babywipe to swipe some colour around the edge of the card and as my palette for the small stamps in the background.


For these 2 cards, I dropped my ink centrally in the baby wipe so they blended together giving a multi-tonal effect. These stamp palettes develop as you use them and the colours merge together, giving different results every time.

If you keep your inked baby wipe in a sealed container/bag you can go back and reuse it multiple times.

You are going to end up with inky figures with this technique, but it is great fun and with so many different colours in the Stampin' Up range, the combinations are huge.

Table built using Product Table Builder by The Crafty Owl - Independent Stampin' Up! Demonstrator.

Hope you have a go.

Helen

Sunday, 15 January 2017

Everyday Hero


I am going to regularly share a product or two that I currently really love. I don't know about you, but I can have a new favourite every day, at least!
When I first saw the "Everyday Hero" stamp set, I knew there were going to be several members of my family that would appreciate projects created with these super stamps. They are fans of the Marvel films and love a bit of superhero action.
It was an obvious go to stamp set when my son-in-law celebrated his 30th birthday last weekend. I have made a variety of these styles of pop-up box cards over the years and it seemed the perfect style to create the illusion of city skyscape with a "Super Stuie" emerging from between the buildings. 
I stamped the buildings several times and snipped pieces off to build up the city. I coloured the super hero with stampin' markers, using a watercolour pencil to give me a soft skin tone. The stars on the background were created with the confetti stars border punch. The happy birthday came from the "Birthday Banners" stamp set using the coordinating "Bunch of Banner" framelits. For the "Super Stuie" sentiment I used the incredibly versatile "Labeller Alphabet" and the numbers were cut using the "Large Number" framelits.
If you are interested in any of these products, you can shop on-line, or contact me directly.
Table built using Product Table Builder by The Crafty Owl - Independent Stampin' Up! Demonstrator.

I was really pleased with the result. A wow card for a super guy on his special birthday.


And I have to give a huge shout out to some other very creative people; the folks who created this fabulous KFC bucket cake. Everything except the board and cocktail sticks were edible. It was amazing. You can find Amanda and Carol's Facebook page here. Do check them out.

Now, it is time to think about Christmas. I have had a few ladies express their desire to try and make a couple of cards a week over the coming month, so that by the time Christmas comes round they are all prepared with lots of home crafted cards for all their friends and family. To assist them in their quest, I have set up a special Facebook book called "Christmas Quackers", where we can share inspiration and motivate each other, If you would like to join in, click here and ask to join.

Hope to catch up with you again soon

Helen
xx


Wednesday, 11 January 2017

Embossed Delicate Details


So Sale-a-Bration and the new Spring/Summer catalogue are well under way and we have been playing with some of the new offerings in my classes and gatherings over the last week.

There are some really useful stamp sets in the free Sale-a-Bration offering this year and the "Delicate Details" is no exception. It consists of a selection of 5 long border stamps with lace details. Perfect for so many borders and edges on cards and scrapbook pages. 

For my card, however, I wanted to use it as the main feature. I layered all the stamps up on a large acrylic block and stamped them, with Versamark, at the top of my piece of whisper white card and then stamped it going the other way on the bottom of my piece of card. I then selected a couple of the strips and stamped them in the centre to give a continuous lacy pattern down the card.
I then sprinkled clear embossing over the images and heated the powder with my trusty Stampin' Up heat tool.


I let the powder cool for a minute and then got out my selection of blue inks and matching sponges. You could of course use any colours, or combinations of colours. I used Dapper denim, Marina Mist and Pool party. I sponged Dapper Denim on the top and bottom, then blended in the Marina Mist and finishing with Pool party in the centre. I burnished it with a piece of kitchen roll to remove any excess ink from the embossed areas.

I cut some sections from the new lace doilies (these are vanilla on one side and white on the other). Using the white side, I placed one on the card as as it was and sponged the other with dapper denim ink before sticking it on. I wrapped some dapper denim ruched ribbon around the card and added a small bow on top, fixing it with glue dots.

I stamped the sentiment from the new "Suite sentiments" set onto a piece of pool party card and punched it out with the decorative label punch. I then punched a second decorative label from marina mist card and cut it in half and trimmed it slightly and layered it underneath the pool party piece. I mounted these onto the card front with dimensionals and added a self adhesive metal rimmed pearl as a finishing touch.

I then mounted the whole card front onto a card base I had created from half a piece of A4 Dapper Denim cardstock.

If you think you may need this stamp set in your collection, remember you can only get it as a free gift when you place a £45 for any other items from the current catalogues. Do take the time to browse the catalogues to check out all the fabulous stamps, dies, punches, papers, inks and so much more.

Table built using Product Table Builder by The Crafty Owl - Independent Stampin' Up! Demonstrator.

I look forward to being back with you soon. Meanwhile, happy crafting.

Helen
xxx

Thursday, 5 January 2017

Celebrate Sale-a-Bration


The New Spring/Summer Catalogue has launched and there are some fabulous products in it. Don't take my word for it - take a look for yourself. You can check out the catalogues from the links on the right hand side of this page, or go to my online shop here


The "up, up and away bundle" is just one of the beautiful new offerings from the Spring/Summer catalogue, with the 12"x12" pack of co-ordinating designer series paper that is one of the choices from the Sale-a-Bration brochure. Order the bundle and the cardstock and get the paper for free.


Table built using Product Table Builder by The Crafty Owl - Independent Stampin' Up! Demonstrator.


Of course, this catalogue isn't the only thing launching today. We also see the start of Sale-a-Bration, Stampin' Up's largest annual promotion. There are three ways of benefiting from Sale-a-Bration.


shop!

Here’s the deal: for every 60 €/£45 you spend (before shipping and handling), you get a FREE Sale-A-Bration product. That means it’s the perfect time to purchase those products you’ve had your eye on while earning more products for free. If you spend £90 you get 2 and so on.

host!

Need another excuse to get together with friends? Just host a qualifying party with at least 275 €/£200 in sales during Sale-A-Bration and you’ll earn 27 €/£20 more in Stampin’ Rewards! You can even apply your Stampin’ Rewards towards a Starter Kit and become a demonstrator yourself!
host_demo_Dec0116_US

join!

It’s the best time of year to join Stampin’ Up! During Sale-A-Bration, you can become a demonstrator for just 129 €/£99 and choose TWO additional stamp sets for your Starter Kit—any stamp set, any price! (Excludes Sale-A-Bration sets and bundles.) Plus, the kit ships for free!
join_demo_Dec0116_US

So many good reasons to get involved. Get in touch if I can help you with any of this. If you would like a paper copy of either the Spring/Summer catalogue, or the Sale-a-Bration brochure then do get in touch.

Helen
xx